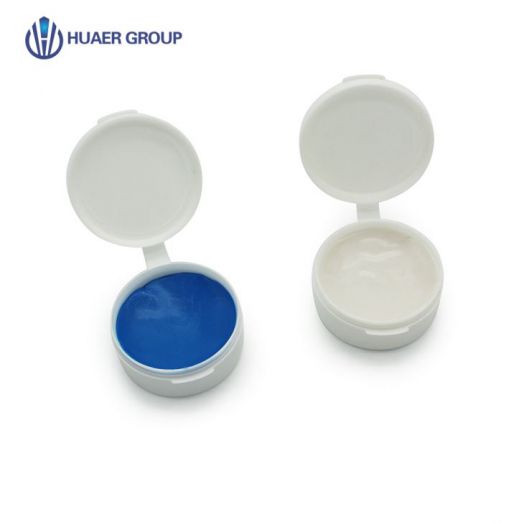
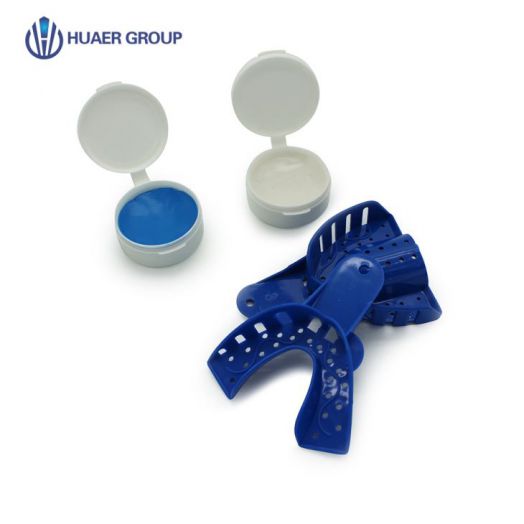
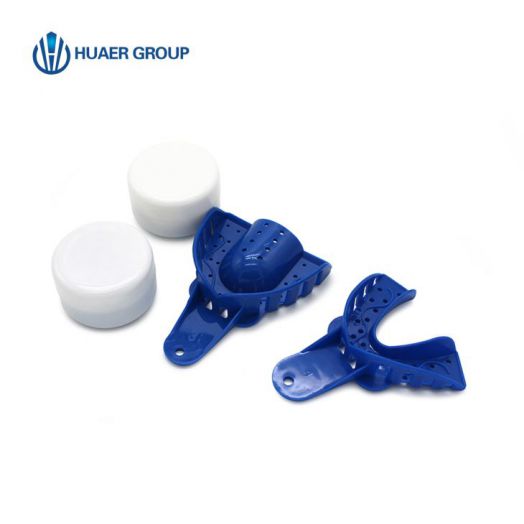
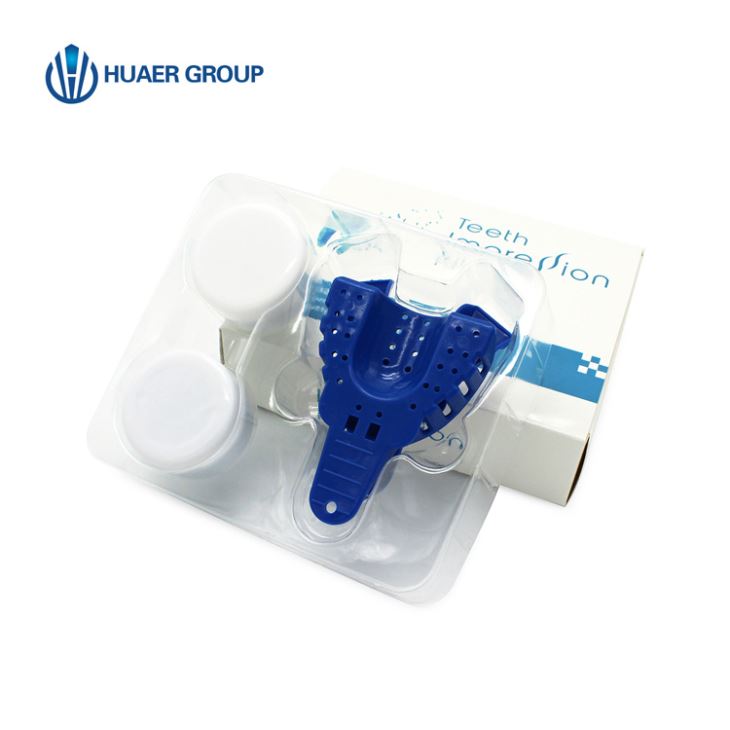
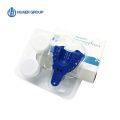
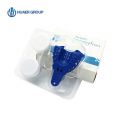
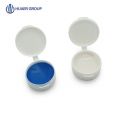
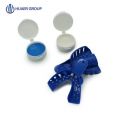
Dental Impression Putty
Dental impression putty provides better accuracy and tear resistance, but only minor improvements in dimensional stability. In addition, the material is difficult to mix and does not have a completely pleasant smell.
Product Description
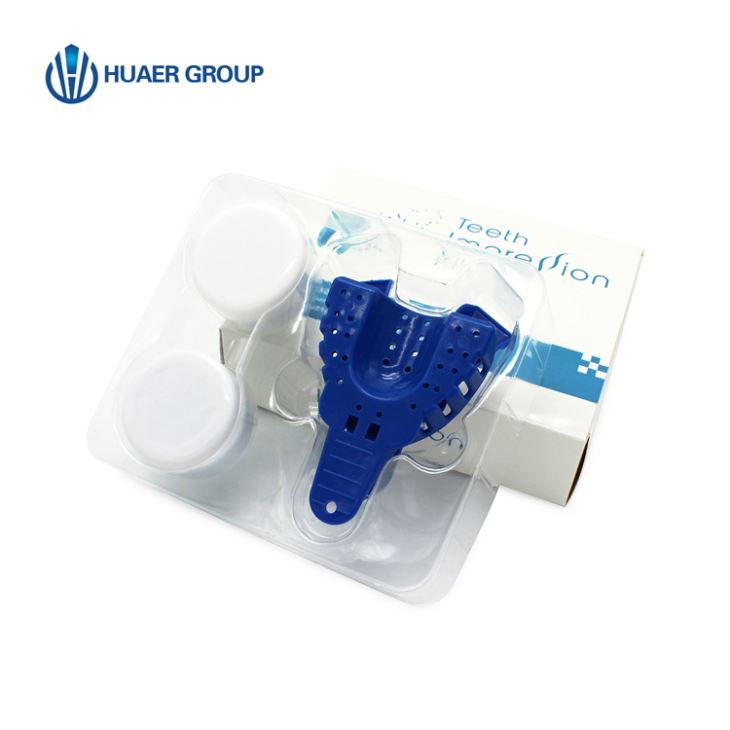
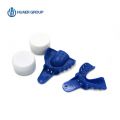
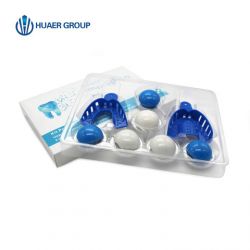
Dental impression putty main ingredient is Polyether which is one of the most suitable materials for making multiple impressions. Accurate and effective materials allow multiple casting, provide long-term dimensional stability and short solidification time. These materials provide precise surface details, minimize distortion and create the tear strength required to sustain the impression.
Advantage
1. Good stability
2. Best flexibility and High tear resistance
3. Excellent Hydrophilic
4. Long term storage
5. Best recovery
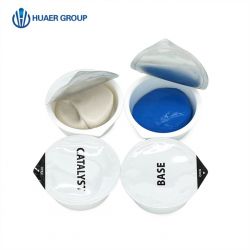
Good stability is crucial to ensure the lab gets an accurate and solid impression. The completed impressions should remain the same once the impression is seted. And the putty and the catalyst should remain their feature for a period of time, resisting temperature changes during transportation and can make a number of precise casts.
Elasticity and tear strength are important impressions Material properties. When dental professionals do not understand them correctly, it can lead to multiple remakes, This is expensive and time consuming.
Excellent Hydrophilic high affinity moisture. Its good surface wetting properties allow high surface detail.
Usage Guide
Step 1:
Select the upper tray. The upper tray is the whole tray.
Before starting this process, practice putting the tray into the mouth. If you find the impression tray too large or too small. Please contact us before using impression putty, then we can send replacement tray. If you are not sure the size of the impression tray, please contact us.
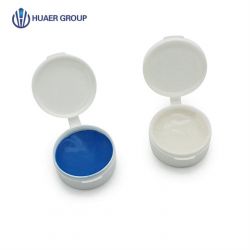
Please wash your hands. Remove putty 1 x colors and 1 x white mold from the barrel and place them in hand.
Step 2:
Mix the ash together by hand until they form a uniform color.
Involve in sausage and put into impression tray.
Gently push the putty into the outer edge of the tray with your thumb. You should not see the edge of the tray.
This step you have 1 minute, please use the given entire time.
Step 3:
Look in the mirror, open your mouth as wide as possible, and insert the impression tray into your mouth with your hands.
Make sure teeth are aligned between putty.
Steps 3 and 4 are completed in 25 seconds.
Tip-make sure there is enough putty on the front edge of the tray to capture teeth and gums-then bite as deeply as possible.
Step 4:
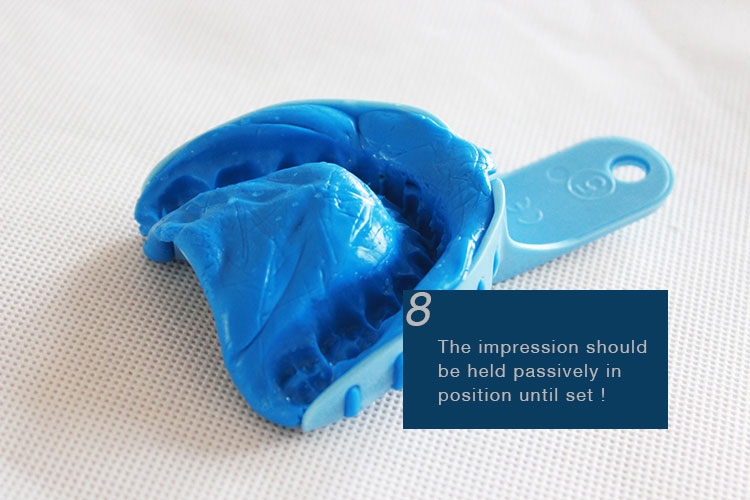
Push the tray up, make sure the tray is lifted up and pulled open, while pushing the tray directly into the teeth. Do this until your teeth touch the bottom of the tray and press your thumb for 4 minutes. Don't talk.
Step 5:
After 4 minutes, push your index finger up your cheek until you feel the edge of the tray, then gently pry it down until the tray is free. Rinse with cold water and dry naturally.
Do not remove putty from impression tray.
Produits Concernés
Attestation
Renseignez-vous maintenant

